
Why Paging and Sorting are needed?
It is a common fact that we can’t show all the information on a single page. Even if we try to show them in a single page, the page becomes lengthy and becomes inconvenient. As a solution we should use paging to minimize the number of records shown in a single page, thus increasing user-friendliness. In the meantime, the user might want to sort data based on a single column. For that, we need to have an option for it. JQuery has several plugins to add paging and Sorting to our application. Listed below are few of them.
- DataTable plugin
- TableSorter plugin
- jPList
- Mixitup
- JTPS
But in this article, we are using none of them and we will be implementing our own class to do the sorting and paging. The advantage of using our own class is, it provides high customization than the readymade plugins. To start with, we need to create a database instance in our project. For that, we can use ADO.NET Entity Data Model. Follow the following steps to create a new instance.
Set up the database

Add new Item to your project
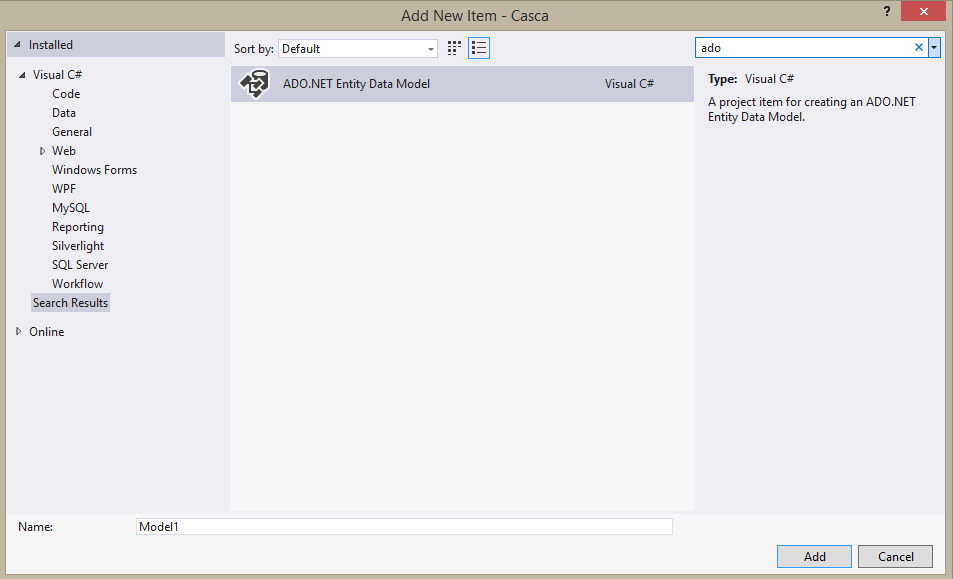
Add a new ADO Entity Data Model

Select EF Designer From Database
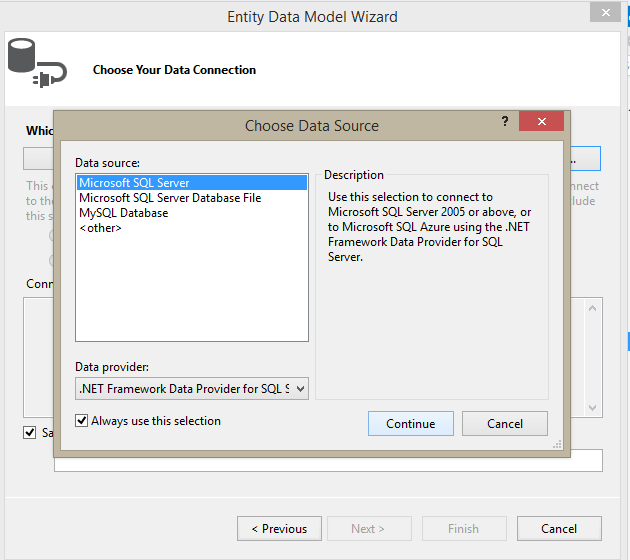
Select Data source
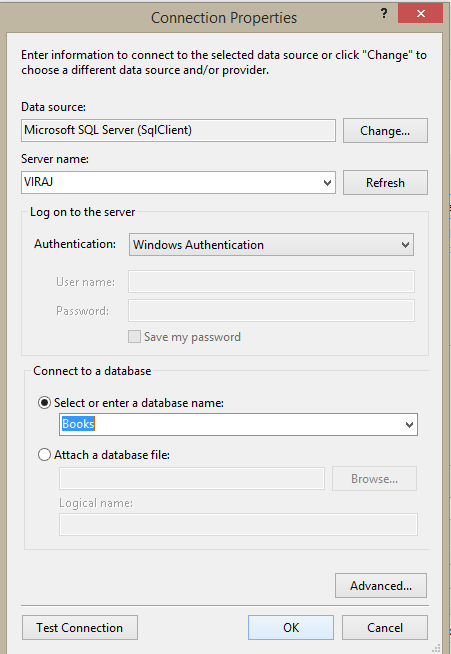
Select Server name and database
Now run the script below to add data to the Create the Novel Table into the database Books:
CREATE TABLE Novel (
    NovelID int,
    Title varchar(255),
    Author varchar(255),
    Price Decimal
);
Add records:
INSERT INTO Novel (NovelID, title, Author, Price) VALUES (1,'Sea', 'Tom Erichsen', 120);
INSERT INTO Novel (NovelID,title, Author, Price) VALUES (2,'Long Day', 'Ben Wolf', 234);
INSERT INTO Novel (NovelID,title, Author, Price) VALUES (3,'Algo Life', 'Perez', 800);
INSERT INTO Novel (NovelID,title, Author, Price) VALUES (4,'The Mouse', 'Sam Henry', 1200);
Create the SortPage Class
Next, let’s implement our custom paging and sorting class. It contains five properties; sortingField and sortingPath is mainly used to sort the lists or the tables by a column and remaining 3 properties are used for pagination.
public class SortPage
{
            public string sortingField { get; set; }
            public string sortingPath { get; set; }
            public int pageSize { get; set; }
            public int pageCount { get; set; }
            public int currentIndex { get; set; }
}
Create the Controller
After creating our model class, a controller class needs to be created. For that, right click on the controller folder in the project and select add a new controller. Let’s name it as SortingPagingController. In the controller class, we will create the method getResults that will prepare the data to be sent to the view.
   public ActionResult getResults()
    {
        using (Books booksDB = new Books()) // Your database context
        {
            SortPage sortPage = new SortPage();
            sortPage.sortingField = "NovelID";
            sortPage.sortingPath = "ascending";
            sortPage.pageSize = 10;
            sortPage.pageCount = Convert.ToInt32(Math.Ceiling((double)(db.Novels.Count()
                           / sortPage.pageSize)));
            sortPage.currentIndex = 0;
            var query = booksDB.Novels.OrderBy(c => c.NovelID).Take(sortPage.pageSize);
            ViewBag.SortingPagingInfo = sortPage;
            List<Novels> model = query.ToList();
            return View(model);
        }
    }
In here we have set to sort the Grid according to the ID of the novel and sort according to ascending order. A total number of elements shown in the page is limited to 10 and remaining elements will be divided among other pages in the factor of 10. By querying the table, 10 records at each time are added to the list and shown in the view. MVC framework includes a property called ViewBag which is used here to store the temporary data.
Implement Sort Functionality
Afterward, we need to overload the method we created earlier, to implement our sorting. When the user clicks on the column to be sorted, it will send a POST request to the server and upon the request, getResults(SortPage sortPage) method will be triggered. In here, we are using a switch case to select the column to be sorted. IQueryable interface is used to represent the query and it can be enumerated.
public ActionResult getResults(SortPage sortPage)
    {
        using (Books booksDB  = new Books())
        {
            IQueryable<Novels> query = null;
            switch (sortPage.SortField)
            {
                case "NovelID":
                    query = (sortPage.sortingPath == "ascending" ?
                             booksDB .Novels.OrderBy(n => n.NovelID) :
                             booksDB .Novels.OrderByDescending(n => n.NovelID));
                    break;
                case "Title":
                    query = (sortPage.sortingPath == "ascending" ?
                             booksDB .Novels.OrderBy(n => n.Author) :
                             booksDB .Novels.OrderByDescending(n => n.Author));
                    break;
                case "Author":
                    query = (sortPage.sortingPath == "ascending" ?
                             booksDB .Novels.OrderBy(n => n.Author) :
                             booksDB .Novels.OrderByDescending(n => n.Author));
                    break;
                case "Price":
                    query = (sortPage.sortingPath == "ascending" ?
                             booksDB .Novels.OrderBy(n => n.Price) :
                             booksDB .Novels.OrderByDescending(n => n.Price));
                    break;
            }
            query = query.Skip(sortPage.CurrentPageIndex* sortPage.PageSize)
                                              .Take(sortPage.PageSize);
            ViewBag.SortingPagingsortPage = sortPage;
            List<Novel> model = query.ToList();
            return View(model);
        }
}
By using the Take() method, we have limited the number of records that should be displayed at a time. Even though plugins are easy to use, more customized classes can be easily changed as we wish. At the final stage, we need to add the list view to the page. For that create a new ASP.NET file in the project and use the above implement model class to sort and paging upon the request of the user.
     //Each value is assigned to the variable
    @Html.Hidden("sortingField ", sortPage.sortingField)
    @Html.Hidden("sortingPath ", sortPage.sortingPath)
    @Html.Hidden("pageCount ", sortPage.pageCount)
    @Html.Hidden("pageSize ", sortPage.pageSize)
    @Html.Hidden("currentIndex ", sortPage.currentIndex)
Create the View
    <table border="1" cellpadding="10">
        <tr>
            <th><a href="#" data-sortfield="NovelID" class="header">NovelID</a></th>
            <th><a href="#" data-sortfield="Title" class="header">Title</a></th>
            <th><a href="#" data-sortfield="Author"  class="header">Author</a></th>
            <th><a href="#" data-sortfield="Price" class="header">Price</a></th>
        </tr>
        @foreach (var novel in Model)
        {
            <tr>
                <td>@novel.NovelID</td>
	  		    <td>@novel.Title</td>
                <td>@novel.Author</td>
                <td>@novel.Price</td>
            </tr>
        }
        <tr>
            <td colspan="3">
                @for (var i = 0; i < sortPage.pageCount; i++)
                {
                    if (i == sortPage.currentIndex)
                    {
                        <span>@(i + 1)</span>
                    }
                    else
                    {
                        <a href="#" data-pageindex="@i"
                           class="pager">@(i + 1)</a>
                    }
                }
            </td>
        </tr>
   </table>
After adding the piece of code above to the view, we will find a list view with four columns namely NovelID, Title, Author, and Price. As well as you can see, only 10 records are displayed on the first page. But try to click on the column headings and check whether it works and do the same for the pagination and check. Will it work? The answer is No. It is because we haven’t implemented, click events for any of them. For that, we need to use the JQuery library. In the same file, add <script> tag and insert the following code. using the code below, we can both click events of column headers as well as pagination.
    $(document).ready(function () {
        $(".header").click(function (evt) {
            var sortingField = $(evt.target).data("sortingField");
            if ($("#sortingField").val() == sortingField) {
                if ($("#sortingPath").val() == "ascending") {
                    $("#sortingPath").val("descending");
                }
                else {
                    $("#sortingPath").val("ascending");
                }
            }
            else {
                $("#sortingField").val(sortingField);
                $("#sortingPath").val("ascending");
            }
            evt.preventDefault();
            $("form").submit();
        });

        $(".pager").click(function (evt) {
            var pageindex = $(evt.target).data("pageindex");
            $("#currentIndex").val(pageindex);
            evt.preventDefault();
            $("form").submit();
        });
    });
First click event will handle the column headers. Depending on the sorting path, it is decided either to sort in ascending or the descending order. In the second event, depending on the click event of the user, a particular page index is assigned to current index property and data is retrieved to be displayed.
Related Articles
Create Cascading Dropdown List in ASP.NET MVC
Integrate Google Maps in ASP.Net MVC using VB.NET and C#
How to Log out of session in MVC
Comments